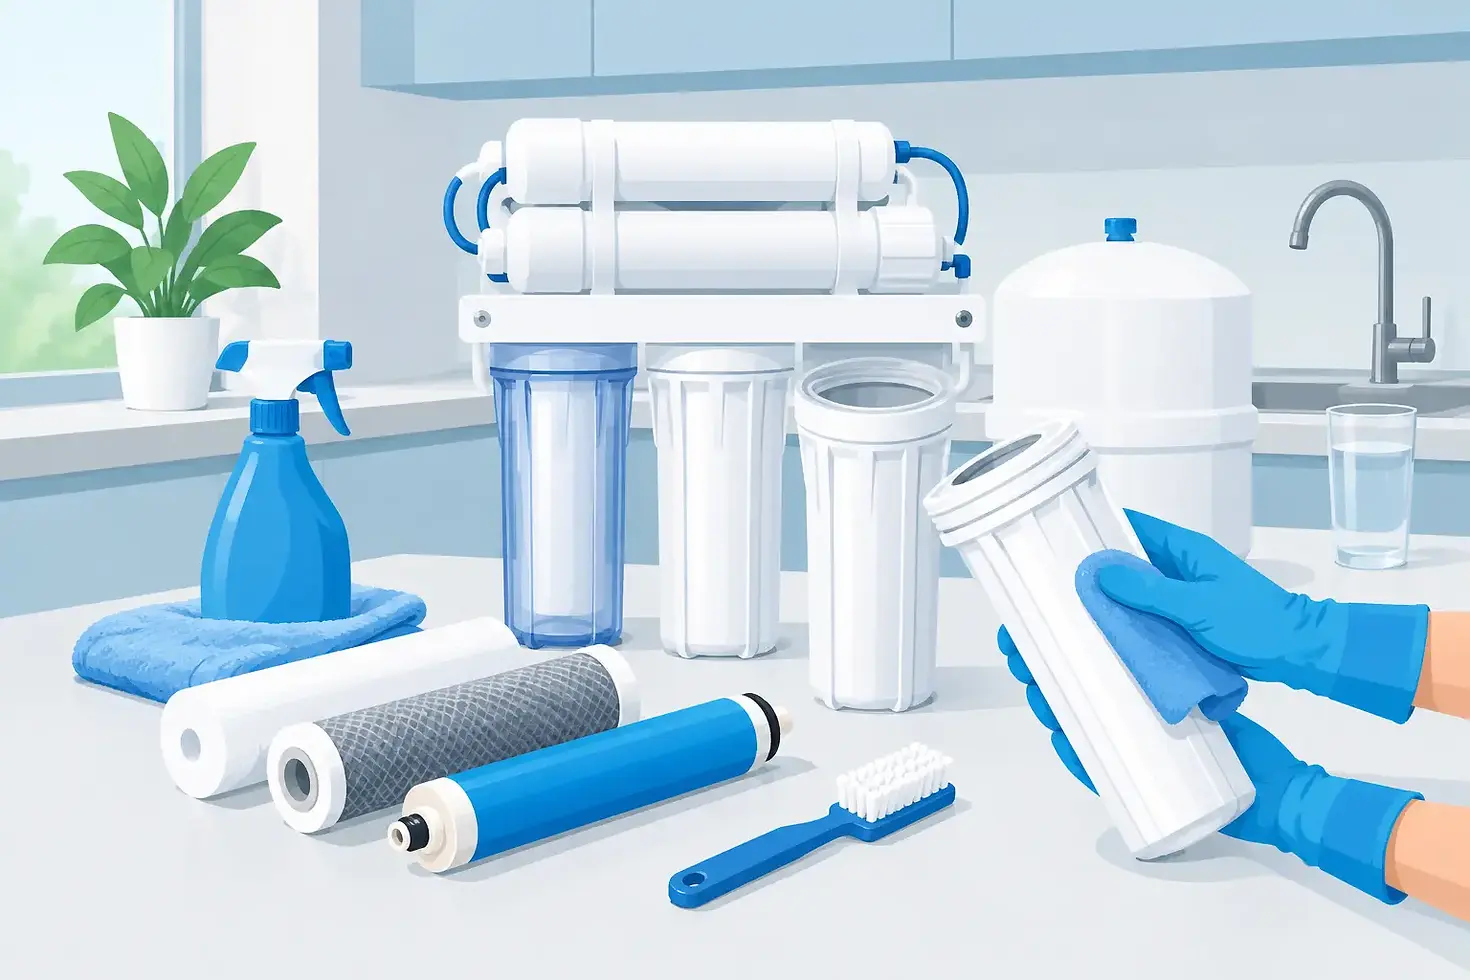
How to Clean a Reverse Osmosis Water System
A reverse osmosis system is engineered to produce exceptionally clean drinking water through precision membrane filtration. But even the best system needs correct care. Knowing how to clean a reverse osmosis water system helps protect its membrane, prevent unwanted bacterial growth and keep every glass of water fresh, clean and reliable for your family.
Cleaning is not the same as simply replacing filters. Filters capture sediment, chlorine and other contaminants over time, while sanitation addresses the internal surfaces, housings, tubing and storage tank where moisture remains. Both matter. The right approach depends on your water quality, the design of your system and how consistently it has been maintained.
When should you clean your RO system?
For most residential reverse osmosis systems, a full internal sanitisation is sensible at least once every 12 months. It is also a good time to clean the system whenever scheduled pre-filter and post-filter replacements are due.
You may need attention sooner if the system has been switched off for an extended period, water has a stale taste or odour, flow from the dedicated drinking-water tap has noticeably reduced, or there has been plumbing work near the system. In warm Australian conditions, a neglected system can provide an environment where microorganisms build up on damp internal surfaces.
The reverse osmosis membrane itself is highly specialised. It should not be scrubbed, washed with household products or exposed to chlorine sanitiser. In most home systems, the membrane is replaced at the appropriate service interval rather than manually cleaned. Attempting to clean it with the wrong chemical can permanently damage the membrane and reduce its ability to reject dissolved impurities.
What you will need before cleaning
Check your system manual first. Manufacturers can specify approved sanitising products, filter configurations and procedures for their equipment. If instructions differ from the steps below, follow the manufacturer’s requirements.
Prepare a clean bucket or towel, disposable gloves, a housing spanner, clean paper towel and a food-grade, fragrance-free sanitising solution approved for drinking-water systems. Avoid scented bleach, dishwashing liquid, vinegar, disinfectant sprays and abrasive cleaners. These can leave residues, affect taste or compromise critical components.
You will also need replacement filters if they are due. A proper service typically combines sanitisation with fresh sediment and carbon filters. Carbon pre-filters are particularly important because they remove chlorine before water reaches the RO membrane. An exhausted carbon filter can leave the membrane exposed to chlorine, shortening its life.
Protect your work area
Place a towel under the unit before opening any filter housings. Turn off the feed-water valve supplying the system, then close the tank valve. Open the RO drinking-water tap and allow pressure to release. Depending on the system, some water may continue to drain for a short time.
If your system is connected to an ice maker, fridge dispenser or another outlet, isolate those lines where required. Never force a fitting or overtighten a filter housing. Cracked housings and damaged O-rings are common causes of leaks after DIY servicing.
How to clean reverse osmosis water system components safely
Start by removing the pre-filter and post-filter housings with the correct housing spanner. Dispose of used cartridges responsibly. If the RO membrane is due for replacement, remove it according to the manufacturer’s instructions. If it is still within its service life, keep it aside in a clean, sealed environment while sanitising the rest of the system. Do not allow it to dry out.
Wash the empty housings using clean water and a soft, non-abrasive cloth. Inspect each housing, cap and O-ring for cracks, flattening or deterioration. Rinse away any visible sediment. O-rings should be clean, correctly seated and lightly lubricated only with an approved food-grade silicone lubricant if the manufacturer recommends it. Petroleum-based lubricants are not suitable.
With the filters and membrane removed, add the manufacturer-approved amount of sanitiser to the first filter housing or as directed for your unit. Reassemble the empty housings carefully, leaving out the new filters and membrane during the sanitising stage unless your system instructions state otherwise.
Turn the feed-water supply back on, but keep the storage tank valve closed initially if recommended by your system’s procedure. Open the drinking-water tap until you can detect the sanitiser solution reaching the tap, then close it. This draws sanitising solution through the tubing and faucet line. Allow it to remain in the system for the stated contact time, often around 20 to 30 minutes. More product or more time is not necessarily better - excessive sanitiser exposure can affect seals and fittings.
If your system has a storage tank, sanitise it according to the manufacturer’s method. This generally involves allowing treated water into the tank, then draining it completely through the drinking-water tap. A tank that has been left unused is one of the most common reasons water can develop an unpleasant taste after a system restart.
Flush thoroughly before reinstalling filters
After the sanitising contact time, flush the system with fresh mains water until there is no sanitiser smell at the tap. This may take more than one full tank cycle. Do not rush this stage. Water should taste and smell neutral before it is used for drinking, cooking or filling bottles.
Turn off the feed-water supply again and release pressure at the tap. Install the new sediment and carbon pre-filters, followed by the RO membrane if it was removed or replaced. Fit a new post-filter where applicable. Check that every cartridge is positioned correctly and that housing threads are clean before tightening by hand. Use the housing spanner only for a final gentle adjustment if needed.
Turn the water supply on slowly and inspect the system closely for leaks. Leave the tank valve open so the system can refill. New carbon filters often release harmless carbon fines at first, so discard the first full tank of water, or follow the flushing volume specified by the filter manufacturer. Some systems may require two tanks to be drained before the water is ready for normal use.
Do not overlook the tap and drain line
The dedicated RO faucet is the final contact point before drinking water reaches your glass. Wipe the outside with a clean cloth and a mild, suitable cleaner, taking care not to spray chemicals directly into the spout. During internal sanitisation, the approved sanitiser solution should pass through the faucet line, addressing the inside of the tubing.
The drain saddle and drain line should also be visually checked. Reverse osmosis works by separating purified water from concentrated reject water, which exits through the drain connection. A blocked, kinked or leaking drain line can affect performance and should be assessed promptly. If there is any uncertainty around plumbing connections, call a qualified water-treatment technician or plumber rather than attempting a repair.
Keep the membrane performing at its best
A clean system only performs well when replacement intervals are respected. Sediment filters often need changing every six to 12 months, depending on local water conditions and household use. Carbon filters are commonly replaced on a similar schedule. RO membranes can last several years, but their actual lifespan depends on incoming water pressure, chlorine protection, hardness, contaminant load and how much purified water your household uses.
Watch for changes rather than relying only on the calendar. Slow production, reduced pressure at the tap, persistent taste changes or a higher total dissolved solids reading can indicate that servicing is needed. A TDS meter can be useful for monitoring trends, although it does not identify specific contaminants or replace professional assessment.
For homes with hard water, a softening or scale-reduction solution upstream can reduce mineral stress on reverse osmosis equipment. For households seeking broader protection, whole-home filtration can treat water used for showering, bathing and cleaning, while reverse osmosis provides molecular-level purification at the drinking-water point. The best arrangement depends on the water supply, household priorities and existing plumbing.
When professional servicing is the better choice
DIY cleaning is practical for confident homeowners with a straightforward under-sink system and clear manufacturer instructions. However, professional servicing is the safer option when the system has complex plumbing, a UV-C unit, a booster pump, recurring leaks, poor water output or a history of unusual taste and odour.
A professional can assess membrane performance, check pressure, test fittings, inspect the storage tank and confirm that filtration stages are matched to your household water conditions. Home Water Filtration can help homeowners select and maintain professionally engineered solutions designed for safe, clean water at every stage of treatment.
A well-maintained RO system should be quiet in the background of family life: producing clean drinking water without odour, uncertainty or unnecessary waste. Set a service reminder before the next filter change, and give the system the careful sanitation it needs to keep protecting the people who rely on it.


Comments